Azure Account Creation
AZ-104 - This article is part of a series.
While the tech world has moved on to multi-cloud environments, it’s important to try out different cloud providers and gain expertise in them. We will look at Azure, the Microsoft offering today. I will be creating a free account. Let’s walk through the steps.
- Navigate to https://azure.microsoft.com/en-us/free/. Click on Get started for Free. You will be navigated to the Sign In page.
- Log in with your Microsoft/Github account. If you have neither created one now. Once done, you will be navigated to the Sign Up Page now for Azure. Fill in your detail and complete identity verification by card.

- One thing different here from AWS is the below policy from Azure. So we can rest easy after giving our card details.
After your credit is over, we’ll ask you if you want to continue with pay-as-you-go. If you do, you’ll only pay if you use more than the free amounts of services.
- Now, you can log in to the Azure portal.
That’s it, we have successfully created an Azure Account. Now, the first thing you need to do is set a budget, to avoid any unintended costs. Till the first 30 days, we don’t need to worry about this. But past that, it’s advised to set up a budget.
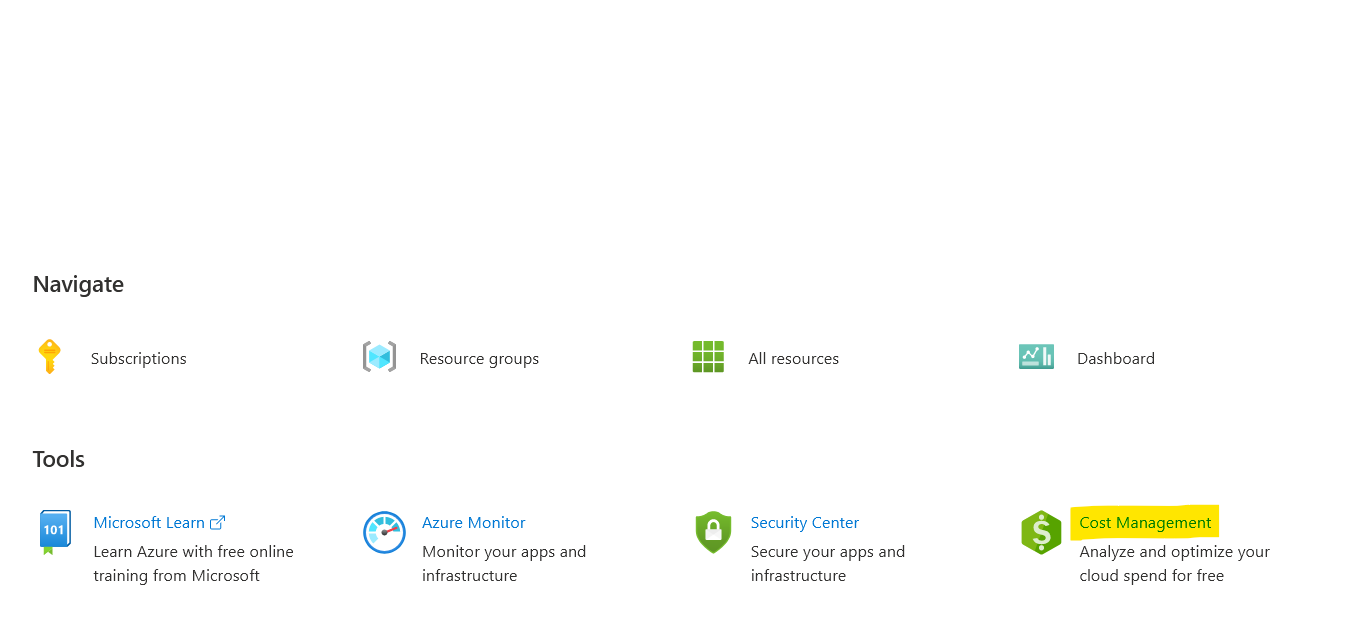
- Navigate to the
Azure portal, and click on Cost Management.

- Under Cost Management, navigate to budgets. Click on Add, to create a new budget.
- Scope for a budget is set as Pay-as-you-go. This means for the entire account.
- We can then fill in the name, reset period, expiration date, amount.
- Then, we can decide what happens when the budget is reached, we may want an alert. Please note that azure never stop the services, it just alerts the user that the budget has been reached.
For practice, we might want to set the budget to let’s say $1, so we get alerted whenever some cost is incurred. This will save us from scenarios where we may create a resource and forget about it, only to be billed $100 at the end of the month.
Expect a few more Azure fundamentals in the upcoming posts.